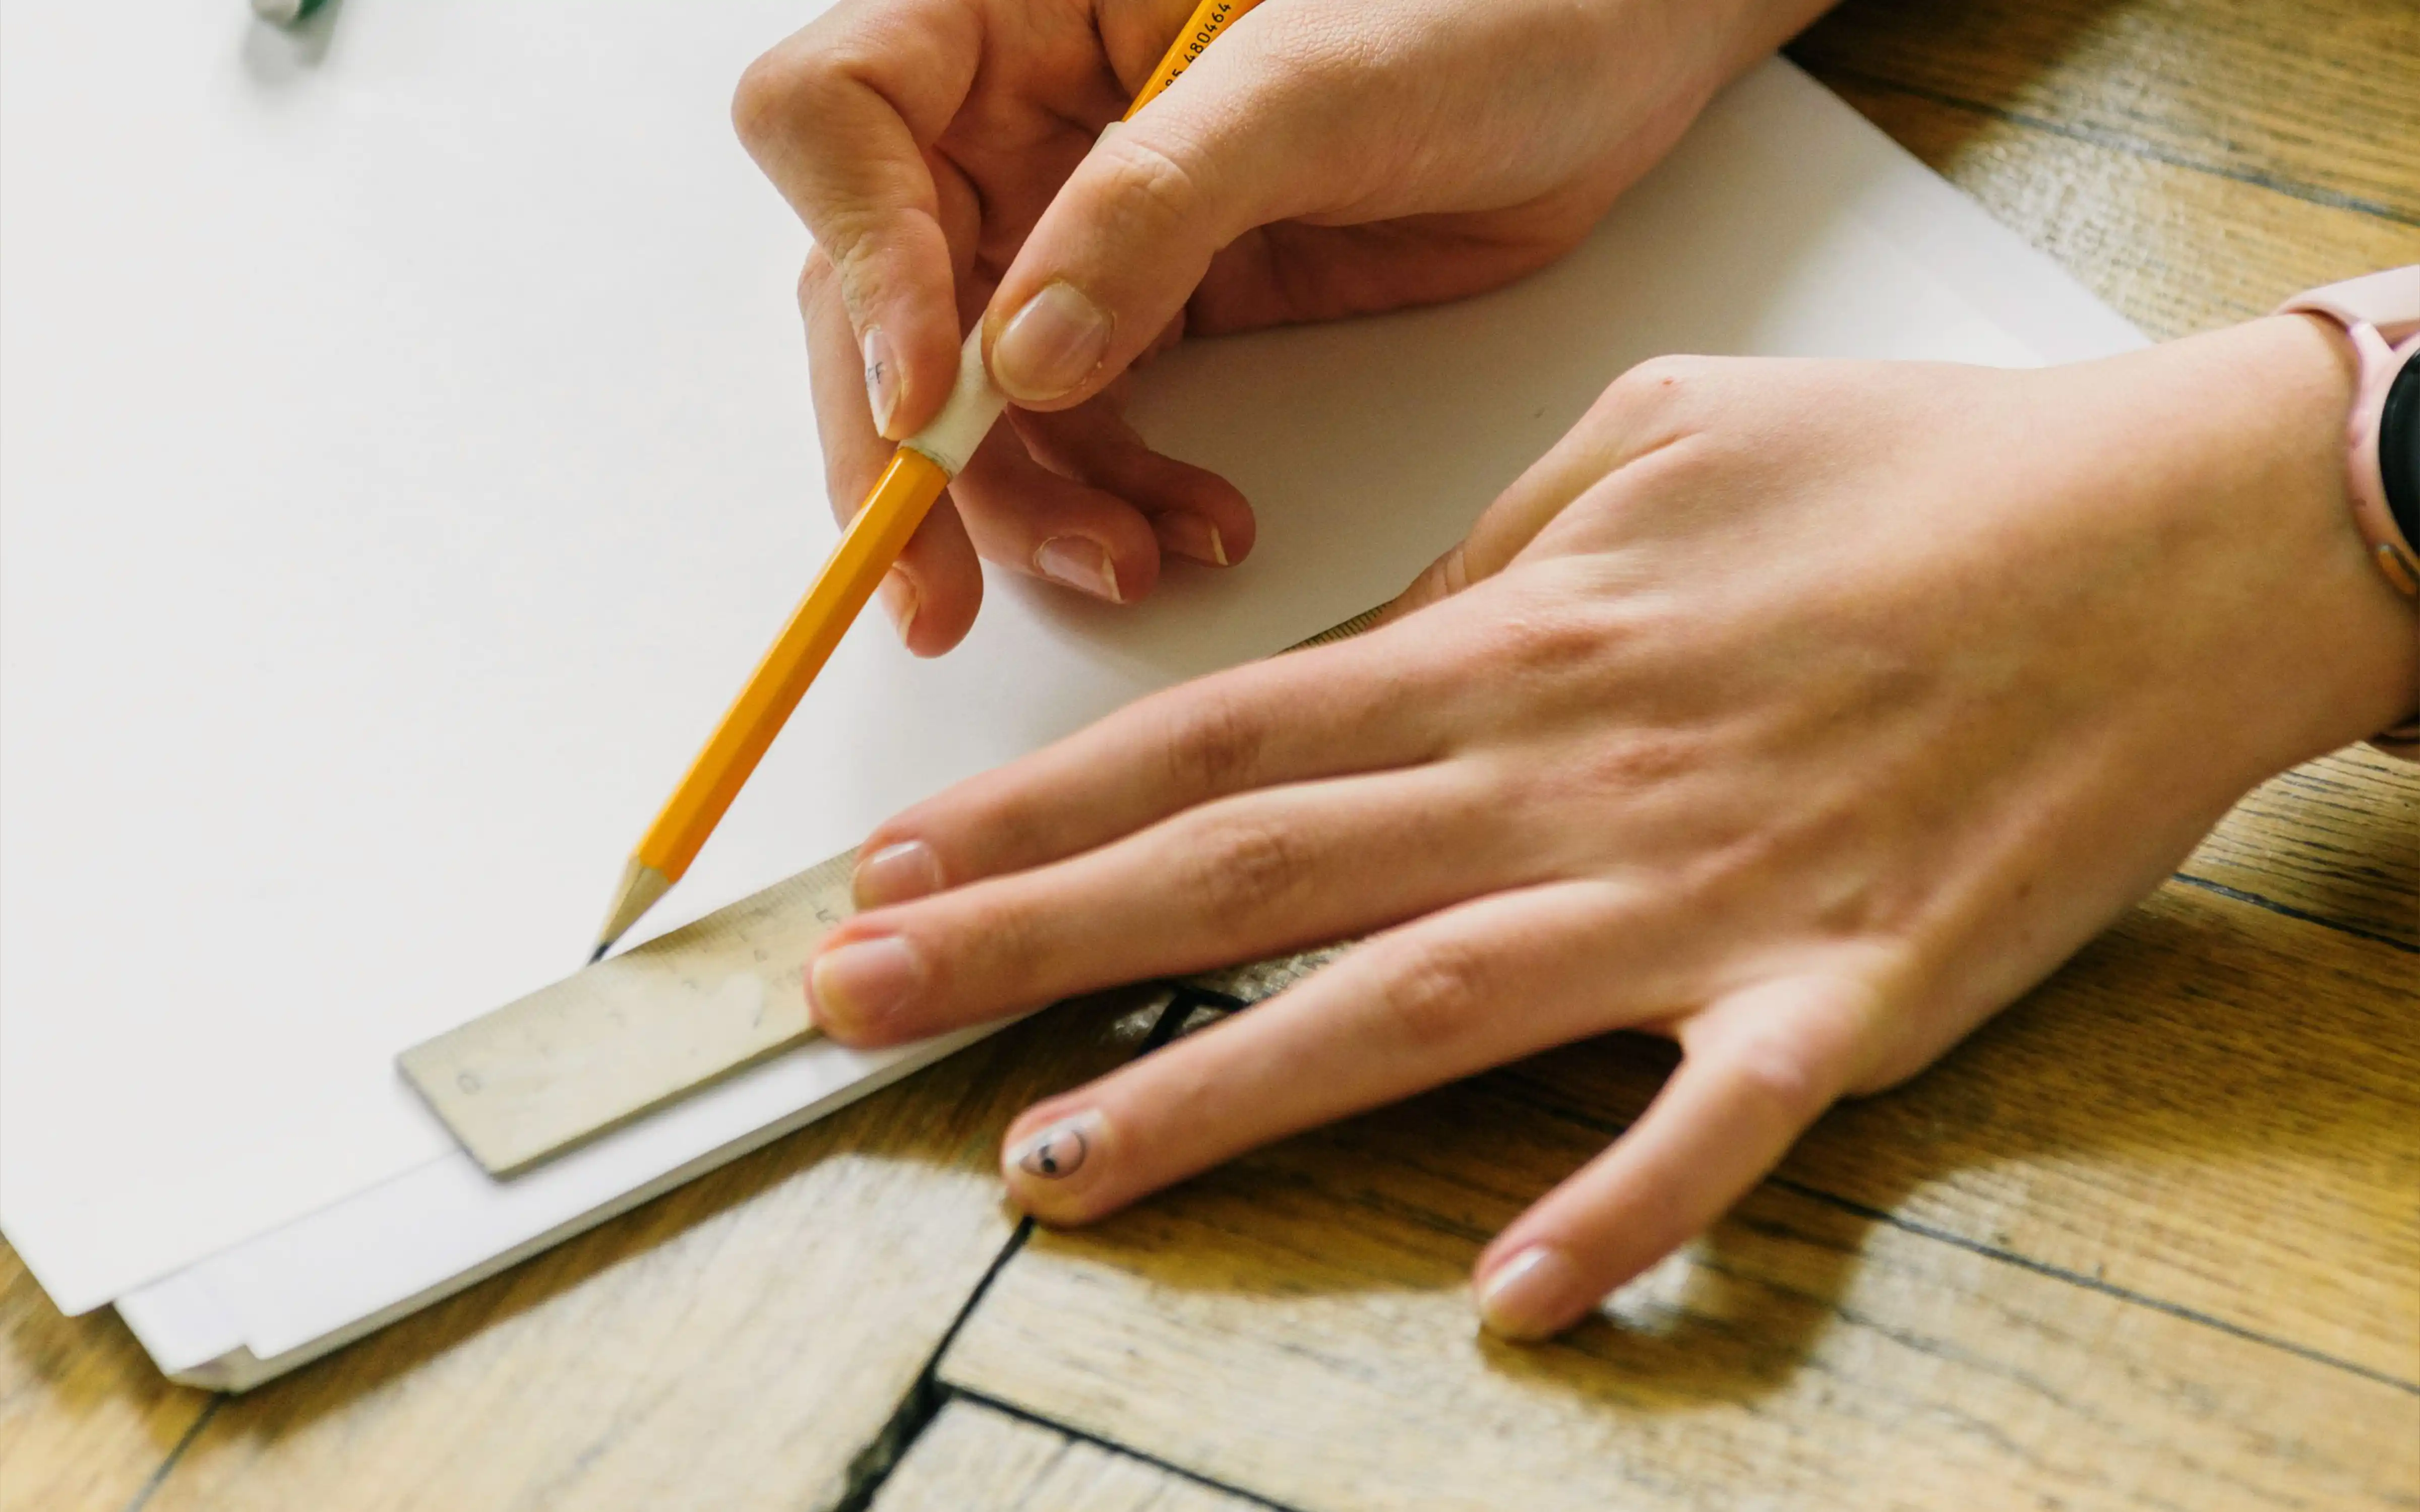
The grid method is a traditional drawing technique that artists have used for centuries to achieve accurate proportions when transferring a reference image to a drawing surface. You can read the full story in our guide on the history of the grid method.
What is the grid method?
By overlaying a grid of evenly spaced squares over both the reference image and the drawing surface, artists can break down complex subjects into manageable sections and draw what they see one cell at a time.
This technique is particularly valuable for realism artists, portrait artists, and anyone who struggles with proportional accuracy when working freehand. The grid acts as a visual guide that eliminates guesswork and ensures your drawing matches your reference image precisely.
The grid method doesn't replace artistic skill. It removes the guesswork from proportions so you can focus on shading, texture, and technique.
Why artists use the grid method
The grid method offers several key advantages that make it a staple technique for artists at every skill level:
- Proportional accuracy: Each grid cell provides a local reference point, making it much easier to draw what you actually see rather than what you think you see.
- Scaling flexibility: By changing the size of the grid squares on your drawing surface relative to the reference, you can scale your artwork up or down while maintaining perfect proportions.
- Complex subject simplification: Breaking a complex image into small squares makes even the most intimidating subjects approachable.
- Confidence building: Beginners gain confidence knowing their proportions will be accurate, allowing them to focus on shading, texture, and technique.
Step-by-step workflow
Set your canvas dimensions
Define the physical size of your canvas or drawing paper. Whether you're working in centimetres or inches, knowing your exact dimensions is the foundation of accurate scaling. The Grid Your Art tool supports both units and includes preset sizes for standard canvas formats.
Upload your reference image
Choose a high-quality reference image with clear details and good lighting. The tool accepts all common image formats and preserves the original resolution throughout the workflow.
Configure the grid overlay
Adjust the number of columns and rows to match your desired grid density. A 10×10 grid works well for most subjects, but you can increase the density for more complex images or decrease it for simpler compositions. The tool displays the exact cell dimensions so you can transfer them to your physical canvas.
Position and scale the image
Use the alignment controls to position your image within the canvas boundaries. The fit-to-canvas and fill-canvas options automatically handle proportional scaling, while snap-to-edge ensures precise alignment. You can also drag and resize the image manually for fine control.
Export and start drawing
Download your complete export package, which includes the colour reference with grid overlay, a grayscale version for tonal study, and a printable grid guide with measurement labels. Transfer the grid to your canvas and begin drawing cell by cell.
Common mistakes to avoid
The most common mistake is drawing grid squares on your canvas that don't match the proportions of the reference grid. Always use the exact cell measurements provided by the tool.
Rushing the process. The grid method works best when you take your time with each cell. Focus on the shapes and relationships within one square at a time rather than trying to sketch the entire image at once.
Ignoring negative space. Pay attention to the shapes between the subject and the grid lines, not just the subject itself. Negative space is often easier to draw accurately and helps maintain correct proportions.
Using too few grid cells. While a coarse grid (4×4 or 5×5) can work for simple subjects, most artists benefit from at least 8–10 cells per axis. Finer grids provide more reference points and greater accuracy, especially for complex subjects like portraits.
Tips for beginners
- Start simple: Begin with straightforward subjects like still life objects before attempting complex portraits or landscapes.
- Label your grid: Mark rows and columns with letters and numbers on both your reference and drawing surface so you can easily track which cell you're working on.
- Use the grayscale export: The grayscale version removes colour distraction and helps you focus on values and shapes.
- Practice regularly: Like any technique, the grid method becomes more intuitive with practice. Each drawing will feel more natural than the last.
Ready to try the grid method?
Upload your reference image, set your canvas size, and generate a professional grid overlay in seconds.
Launch the tool for free