The grid method has been one of the most popular tools for artists wanting to accurately position details in their artwork for centuries, a story we explore in our guide on the history of the grid method.
While there are plenty of tools available to make the process faster and easier, including our own gridding tool, it is still incredibly useful for artists to understand how to set up a grid manually for free.
In this article, we'll look at two practical ways to create your grid:
- a digital method for people comfortable using design software
- a fully manual method for people who prefer a more hands-on approach
The manual method will involve printing your reference image and drawing a grid directly onto it.
Tools and materials
You only need a few common household tools to set up an art grid. The "free" part of this guide assumes you already own them, though there are still a few quality-of-life considerations worth discussing.
1. A ruler
This is an easy one, but there are still a few important things worth mentioning.
Size matters. If you plan to work on large canvases, it is worth getting a ruler long enough to span the full width of the canvas. A metre ruler is usually enough for most traditional canvas sizes. If you are only working on A4 paper or smaller drawings, a standard school ruler is perfectly fine.
Wooden vs metal rulers. Wooden rulers generally feel nicer to work with and glide more smoothly across paper. However, they are less durable and can warp slightly over time due to humidity and temperature changes. Metal rulers are far more durable, which is why they are commonly used in construction and technical work. However, some artists dislike the feeling of metal scraping against graphite, particularly those with sensory sensitivities. Neither option is objectively better. It mostly comes down to personal preference.
Avoid foldable rulers. We strongly recommend avoiding foldable rulers for gridding artwork. They are designed primarily for measuring, not drawing straight lines. The folding joints often create small bumps that interfere with smooth line work.
2. Pencils
Most people already own pencils, but many artists are unfamiliar with the grading system used for graphite pencils.
Understanding pencil grades. Graphite pencils use three main grading categories: H (Hard), F (Fine), and B (Blackness). Harder pencils leave lighter marks because they transfer less graphite onto the page. Softer pencils leave darker marks because they transfer more graphite. In general, the harder the pencil, the lighter the line; the softer the pencil, the darker the line.
The most commonly used grades are HB and F. HB pencils are slightly darker and are the standard pencil most people use for writing. F pencils are slightly harder and hold a sharper point for longer, making them useful for finer lines.
Which pencil is best for gridding? For gridding artwork, lighter pencil grades are usually better. Lighter lines smudge less, erase more easily, and leave less visible residue behind. This is why many artists prefer harder pencils for gridding. A 9H pencil creates extremely light lines and is ideal if you want your grid to disappear cleanly later. However, realistically, almost any pencil will work if you apply light pressure while drawing the grid.
Mechanical pencils are also a great option. They maintain a consistently fine point without needing sharpening, which makes them very convenient for precise grid lines. They are probably unnecessary for most beginners, but they are affordable and surprisingly useful if you grid artwork regularly.
3. Erasers
Surprisingly, your eraser can have a huge impact on how pleasant the gridding process feels. There are several common types worth discussing.
Standard vinyl or rubber erasers are the typical school erasers most people are familiar with. They are designed mainly for removing darker graphite like HB pencil, which means they tend to grip the paper aggressively. Most people have experienced rubbing hard enough with these erasers that the paper itself starts becoming damaged. They are useful when you need very sharp eraser marks, but they are usually not ideal for delicate art paper.
Gum erasers are much gentler on paper. Instead of aggressively gripping the surface, they slowly crumble away while erasing. This makes them far less likely to damage the drawing surface. The downside is that they wear down quickly and lose sharp edges fast. For gridding artwork though, gum erasers are usually one of the best overall choices.
Kneadable erasers feel a bit like blu-tack. Instead of rubbing graphite away, they lift graphite off the page. Because they can be reshaped, you can form them into fine points for more precise erasing. They are especially useful for lightly lifting graphite without damaging the paper.
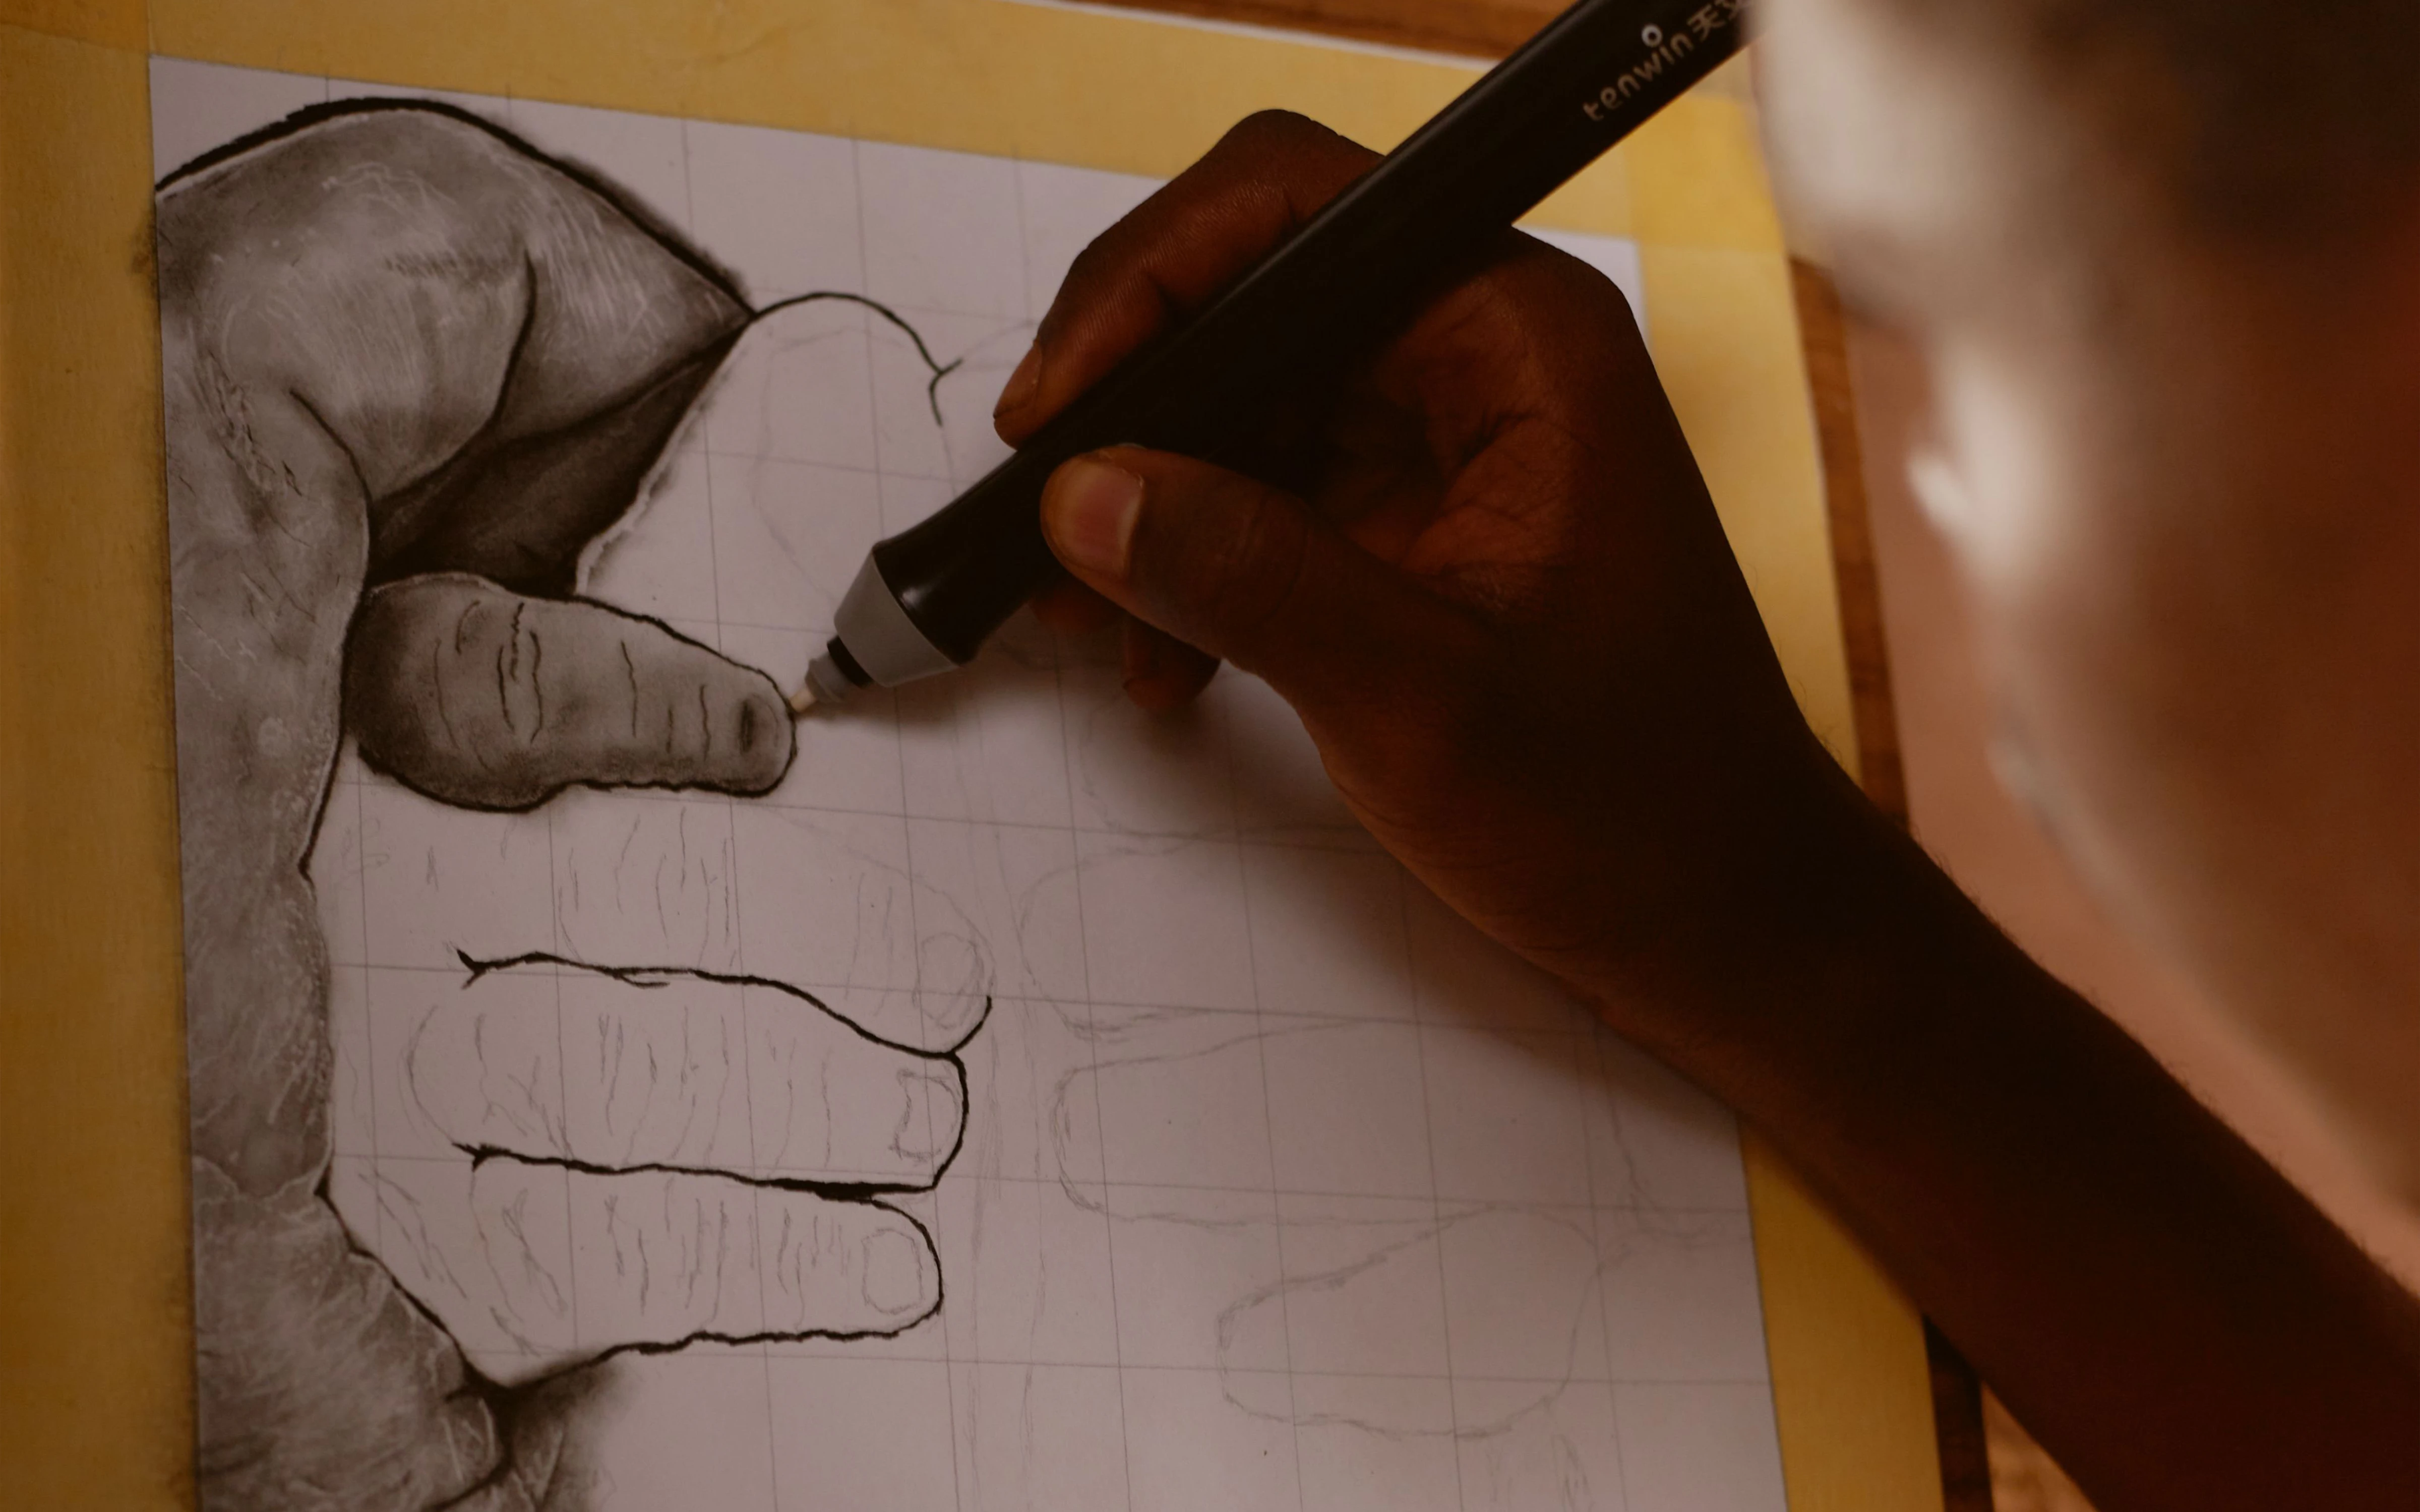
Electric erasers use a spinning rubber tip powered by a small motor. They are excellent for creating extremely fine highlights and controlled eraser marks, particularly in realism artwork. For simple gridding, they are usually overkill, but they can still be useful for artists who want maximum precision.
Step 1: Composing your image on the canvas
Life becomes very simple when the aspect ratio of your reference image perfectly matches the aspect ratio of your canvas. Unfortunately, this is rarely the case.
Most free gridding tools online do a poor job handling mismatched aspect ratios, which is one of the main reasons we built our own gridding tool to handle this automatically. However, if you want to do it manually for free, here are two practical approaches.
1A. The tech-savvy method
Using graphic design software, we can create a digital canvas that matches the exact proportions of the physical canvas we plan to draw on.
Most design software works similarly, but for simplicity we'll use Canva as the example. This is not sponsored. Canva is simply one of the easiest browser-based options available. You could also use Photoshop, Illustrator, GIMP, Procreate, or almost any other image editing software.
Step 1: Create a Canva account if you do not already have one.
Step 2: Click the "+" button and choose "Custom Size".
Step 3: Enter the dimensions of your canvas.
Step 4: Upload your reference image either by dragging it directly onto the page or using the Uploads tab.
Step 5: Position and scale the image until the composition looks the way you want it to appear on your final artwork. Once this is done, you are ready to begin adding your grid.
1B. The "by hand" method
Print your reference image as large as possible. Then take a second blank sheet of paper the same size as the print. We will use this second sheet to represent the proportions of the final canvas.
Because your canvas aspect ratio is fixed, you will need to decide whether you want to preserve the height or the width of your reference image.
Preserving height: Align the top of the blank sheet with the highest point of the reference image you want included, mark the lowest point you want included, measure that distance, transfer the same measurement to the opposite side of the page, and connect the marks with a straight line.
Preserving width: If preserving width, the process is exactly the same, except you work horizontally instead of vertically.
Finding your conversion ratio
Once you have your measured value, divide the matching dimension of your canvas by that measurement.
For example: if preserving height, divide the canvas height by the measured height on the page. If preserving width, divide the canvas width by the measured width.
This number becomes your conversion ratio. You can then use this ratio to accurately transfer measurements from your reference image onto the final canvas.
If you want to skip the measuring and conversion process entirely, our gridding tool automatically handles scaling, composition, and aspect ratio matching for you.
Step 2: Drawing the grid on your reference image
Once your composition is finalized, you can begin drawing the grid itself. The easiest approach is to divide the image into evenly sized squares.
For smaller artworks, 1cm or 2cm squares usually work well. For larger canvases, you may want larger grid squares to avoid creating an overwhelming number of lines.
Using your ruler: mark equal intervals along the edges of the image, connect the marks horizontally, then repeat vertically. Try to keep your lines as light as possible so they do not overpower the reference image.
Step 3: Drawing the grid on your canvas
Now repeat the same process on your canvas or drawing paper.
The important thing is that the number of squares matches and the proportions match. The squares do not need to be the same physical size as the reference image.
For example: your reference image may use 1cm squares, your canvas may use 5cm squares. As long as the number of rows and columns stays consistent, the image will scale correctly.
Choosing the right grid size
A common beginner mistake is making the grid either far too large or unnecessarily tiny.
Larger squares are faster to set up, create less visual clutter, and work well for simpler subjects.
Smaller squares increase accuracy, help with complex details, and make portraits easier to judge proportionally.
If you are unsure, start with medium-sized squares and adjust based on the complexity of the artwork.
Tips for cleaner grid lines
- use light pressure when drawing the grid
- sharpen pencils regularly
- avoid pressing hard enough to indent the paper
- erase grid lines gradually instead of aggressively
- work one square at a time
- avoid focusing on the whole image at once
Many artists find it helpful to lightly erase sections of the grid as they complete each area of the drawing.
Common beginner mistakes
Pressing too hard. Heavy grid lines can become difficult to erase later and may damage the paper surface.
Making the grid too dense. Tiny squares can quickly become visually overwhelming and slow the process down unnecessarily.
Ignoring aspect ratio. This is one of the most common mistakes beginners make, and we cover the rest in our guide on common grid drawing mistakes. If the proportions of the reference image and canvas do not match, the artwork can become stretched or cropped unexpectedly.
Focusing on symbols instead of shapes. One of the biggest strengths of the grid method is that it helps artists stop drawing "symbols." Instead of thinking "this is an eye," try thinking "this is a curved dark shape inside this square." This mindset dramatically improves accuracy.
Final thoughts
The grid method is popular for a reason. It is one of the simplest and most effective ways to improve accuracy, especially when working from reference images or scaling artwork onto larger surfaces.
Even if you eventually move toward freehand drawing, learning how grids work can still teach valuable lessons about proportion, observation, and composition.
Of course, while manually gridding artwork is a valuable skill to understand, it can still be a tedious task. If you'd rather skip the setup process and jump straight into drawing or painting, our gridding tool automatically handles aspect ratio matching, image composition, grid scaling, canvas sizing, and printable exports.
The export files also include several optional layouts designed specifically for artists, including the gridded image cropped to match your canvas composition, the cropped image without the grid, black and white copies of both the gridded and non-gridded images for tonal reference, and a grid guide showing the exact measurements for each point on your grid.
What's more, a single purchase unlocks the tool on your device for one hour, meaning you can generate as many grids as you like during that time. You can also see more examples in our free reference image packs, which provide free-to-use reference subjects for A4 portraits with all of our export options included.
Skip the manual setup
Generate a perfectly scaled, printable grid for any reference image in seconds. No rulers, no calculations, no frustration.
Try the tool for $2